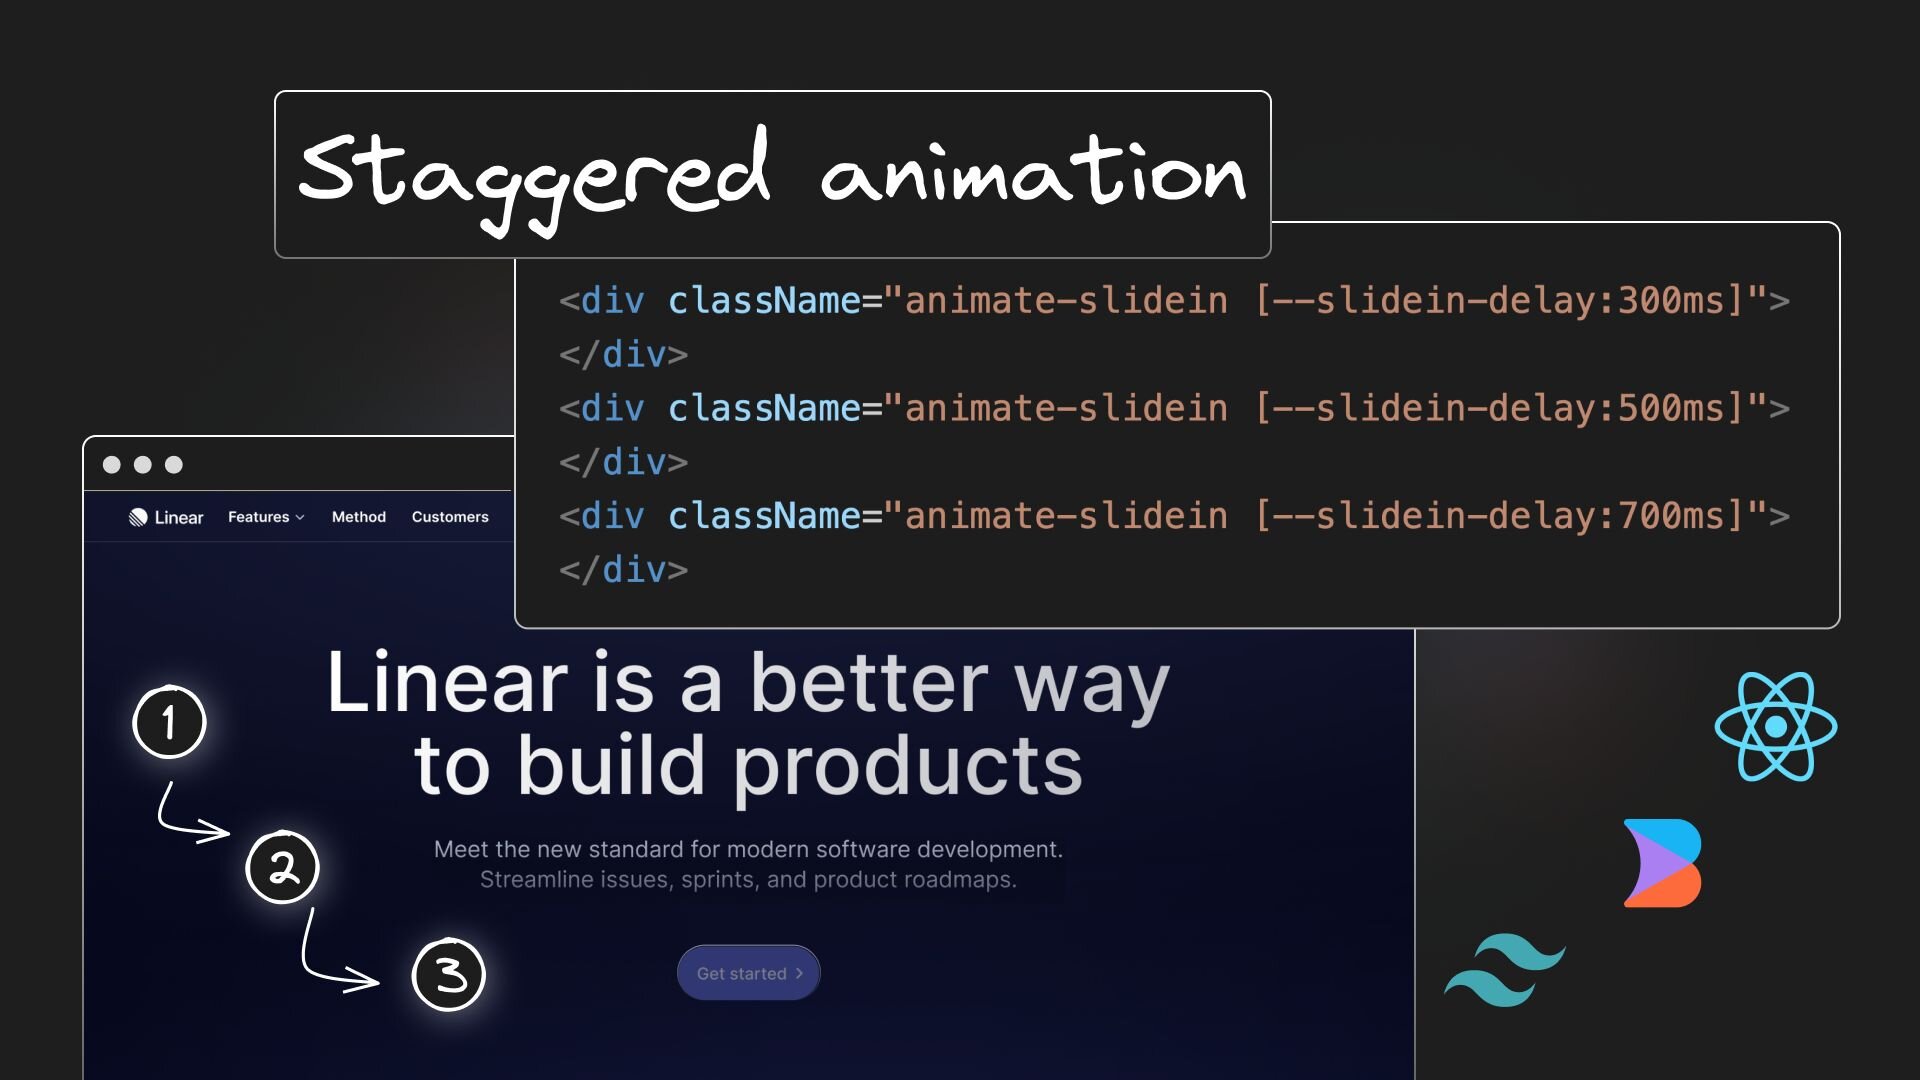
Today, let's explore how to recreate one of Linear's captivating hero section animations: the staggered text animation.
First, we create a Vite React app using the command npx create vite app, selecting React as the library. Follow the official Tailwind CSS documentation to set up Tailwind in the project. It involves six straightforward steps.
Start the development server with npm run dev. You should see your app running on localhost:5173.
You can choose to use Next.js or Remix as alternatives to Vite.
The default markup in a Vite React app is a far cry from Linear's hero section and hand coding will take a lot of time.

Thankfully, we have AI to get us 80% of the way there without all that work.
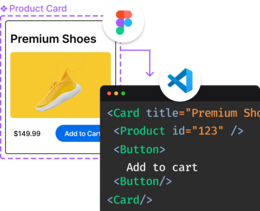
Starting with this mockup in Figma, I used the Builder.io Figma plugin to convert the design into React + Tailwind code using Visual Copilot.
Simply click Generate in Figma, then copy and paste the generated code into your codebase.
I placed it in a new file named Hero.tsx.
To enhance Tailwind's animation capabilities, modify theme.extend.animation and theme.extend.keyframes in the tailwind.config.js file:
export default {
  content: ["./index.html", "./src/**/*.{js,ts,jsx,tsx}"],
  theme: {
    extend: {
      keyframes: {
        slidein: {
          from: {
            opacity: "0",
            transform: "translateY(-10px)",
          },
          to: {
            opacity: "1",
            transform: "translateY(0)",
          },
        },
      },
      animation: {
        slidein: "slidein 1s ease 300ms",
      },
    },
  },
  plugins: [],
};
This code snippet defines a new slidein animation. The from keyframe starts with the content at 0% opacity and slightly above its final position, while the to keyframe completes the animation at 100% opacity and its final position.
The animation lasts 1 second with an ‘ease’ timing-function and a 300ms delay.
Apply this animation to each of the four elements representing the hero text in Hero.tsx:
<!-- Element 1 -->
<div className="animate-slidein ...">
  <div className="...">Introducing Linear Asks</div>
  <img loading="lazy" src="..." className="..." alt="Icon" />
</div>

<!-- Element 2 -->
<h1 className="animate-slidein ...">
  Linear is a better way
  <br />
  to build products
</h1>

<!-- Element 3 -->
<p className="animate-slidein ...">
  Meet the new standard for modern software development.
  <br />
  Streamline issues, sprints, and product roadmaps.
</p>

<!-- Element 4 -->
<div className="animate-slidein ...">
  <div className="...">Get started</div>
  <img loading="lazy" src="..." className="..." alt="Arrow icon" />
</div>
The animation runs but all the elements slide in at once. To create a staggered effect, we introduce different delays for each element by defining four variants of the slidein animation in Tailwind's configuration:
animation: {
  slidein300: "slidein 1s ease 300ms",
  slidein500: "slidein 1s ease 500ms",
  slidein700: "slidein 1s ease 700ms",
},
Update the Hero component's classNames to reflect these new animation variants:
<!-- Element 1 -->
<div className="animate-slidein300 ...">
  <div className="...">Introducing Linear Asks</div>
  <img loading="lazy" src="..." className="..." alt="Icon" />
</div>

<!-- Element 2 -->
<h1 className="animate-slidein300 ...">
  Linear is a better way
  <br />
  to build products
</h1>

<!-- Element 3 -->
<p className="animate-slidein500 ...">
  Meet the new standard for modern software development.
  <br />
  Streamline issues, sprints, and product roadmaps.
</p>

<!-- Element 4 -->
<div className="animate-slidein700 ...">
  <div className="...">Get started</div>
  <img loading="lazy" src="..." className="..." alt="Arrow icon" />
</div>
This introduces code duplication, but we'll address that shortly.
Now, our animations stagger beautifully, but there's an issue: the elements are visible before the animation starts. To fix this, add an opacity-0 class to ensure they're hidden initially:
<!-- Element 1 -->
<div className="animate-slidein300 opacity-0 ...">
  <div className="...">Introducing Linear Asks</div>
  <img loading="lazy" src="..." className="..." alt="Icon" />
</div>

<!-- Element 2 -->
<h1 className="animate-slidein300 opacity-0 ...">
  Linear is a better way
  <br />
  to build products
</h1>

<!-- Element 3 -->
<p className="animate-slidein500 opacity-0 ...">
  Meet the new standard for modern software development.
  <br />
  Streamline issues, sprints, and product roadmaps.
</p>

<!-- Element 4 -->
<div className="animate-slidein700 opacity-0 ...">
  <div className="...">Get started</div>
  <img loading="lazy" src="..." className="..." alt="Arrow icon" />
</div>
The staggered animation works perfectly. However, post-animation, the hero text elements all disappear. To fix this, we specify animation-fill-mode: forwards so the elements maintain their final keyframe styles:
animation: {
  slidein300: "slidein 1s ease 300ms forwards",
  slidein500: "slidein 1s ease 500ms forwards",
  slidein700: "slidein 1s ease 700ms forwards",
},
Our animations stagger beautifully as expected.
To optimize our code, let's refactor our custom animations using CSS variables. We introduce a --slidein-delay variable with a default value of 0ms:
animation: {
  slidein: "slidein 1s ease var(--slidein-delay, 0) forwards",
}
We then apply this variable to our Hero component:
<!-- Element 1 -->
<div className="animate-slidein opacity-0 [--slidein-delay:300ms] ...">
  <div className="...">Introducing Linear Asks</div>
  <img loading="lazy" src="..." className="..." alt="Icon" />
</div>

<!-- Element 2 -->
<h1 className="animate-slidein opacity-0 [--slidein-delay:300ms] ...">
  Linear is a better way
  <br />
  to build products
</h1>

<!-- Element 3 -->
<p className="animate-slidein opacity-0 [--slidein-delay:500ms] ...">
  Meet the new standard for modern software development.
  <br />
  Streamline issues, sprints, and product roadmaps.
</p>

<!-- Element 4 -->
<div className="animate-slidein opacity-0 [--slidein-delay:700ms] ...">
  <div className="...">Get started</div>
  <img loading="lazy" src="..." className="..." alt="Arrow icon" />
</div>
And there you have it — a sleek staggered text animation similar to Linear's landing page, achieved using React and Tailwind CSS.
Introducing Visual Copilot: convert Figma designs to high quality code in a single click.


