shopify app
In this tutorial, we're going to walk you through how to
- import your Shopify page with sections
- create a promotion for your product page
- target the promotion on specific pages
- schedule it for a set period of time
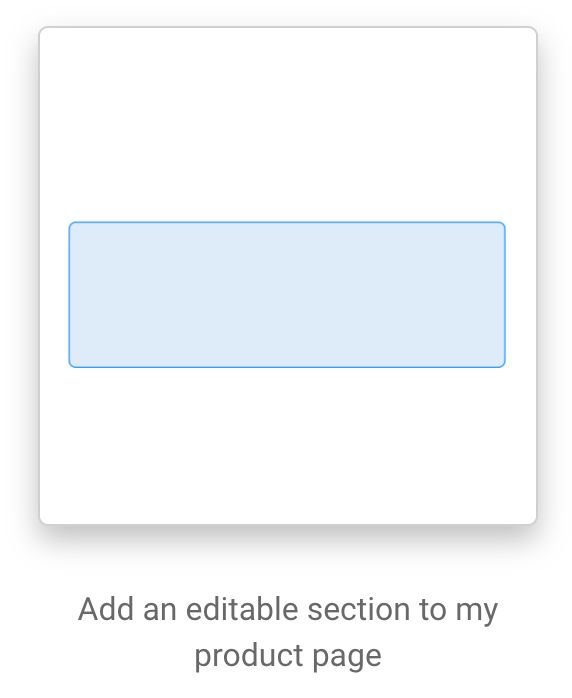
In Builder, click your Product Page theme and select +Create. Then click Add an editable section to my product page.


Next select where you want to add this editable section. In this example, I'm going to add the section to the top of my page.
This will take you to the Visual Editor where your product page Shopify section will be imported along with an outlined dropzone at the top of the page. The dropzone is where you can start dragging and dropping content onto the page to build out a promotion. Maybe you want to have a ribbon at the top of your men's product pages or a pop-up modal when someone visits those pages.
After you've built out the design of your promotion, you can use targeting & scheduling and A/B tests to dictate who sees what content for your promotion.
Once you've finished the design of your promotion, you can use targeting at the top of the page to target this promotion on all Men's products. In Targeting, simply click Add a Filter, and choose a property. In our particular scenario, we're going to choose a Product is in collection filter and then select the Men's collection.
If you don’t want your page to go live right away, you can choose a date and time you would like it to go live at the top of the editor by clicking on Scheduling. Once you have a date and time selected, you can publish your page. It won’t go live until the date and time you selected occurs. If this is a page that you only want up for a certain time period, you can also give your page an end date. Once this time period is over, your default homepage will be displayed.
And that's the basics of getting a promotion created with targeting and scheduled!
👉Tip: This tutorial can be adapted for many use cases, such as
- Targeted forms
- Pop up modals
- Product suggestions
- And much more!


