shopify app
In this tutorial, we're going to walk you through how to:
- create a custom section in Builder
- add the section to your Shopify liquid code
- target the promotion on specific pages
Let's start by creating a section model that we'll use on select Builder pages to promote a sale on womenswear.
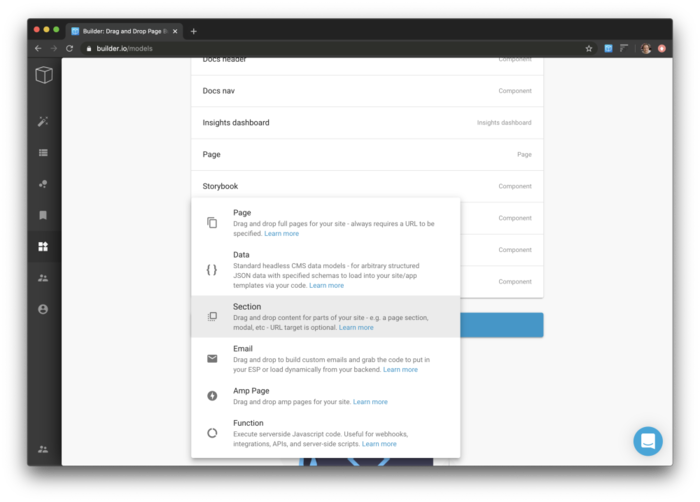
Head over to builder.io/models, select “+Create model” and choose “section.”

Give your section a name, such as “product page promotion."
Then, let’s give this an editing URL. This is what Builder will open in the Visual Editor to edit your promotion, so this just needs to be any URL this Builder section will display on. In our case, since this section will be on womenswear product pages, we'll use the url https://our-site.com/products/the-cashmere-crew.
Copy the code snippet that starts with {% include 'model... and head over to your Shopify admin page.
On the left nav bar in Shopify, click your Online Store and select Themes. In your online store theme, under Actions, click Edit Code.
This will open up all the liquid template code for your Shopify theme. Because we want this promotion to be available in our product pages, navigate to the templates/product.liquid page and paste the code snippet in the section. Where you paste the snippet will determine where the promotion is placed on your page. Let's put this promo at the top of our product page. To do that, we'll paste the code at the very top and click save.
Now, let's create our promotion. Head back to builder.io/content and choose “+ new entry” and choose “product page promotion.”
Here should see your site in the preview with a big “+ add block” at the top - drag and drop content in and publish!
👉Tip: When using section models, just like any other content, you can use targeting & scheduling and A/B tests to dictate who sees what content.
Once you've finished the design of your promotion, you can use targeting at the top of the page to target this promotion on specific products. In Targeting, simply click Add a Filter, and choose a property. In our particular scenario, we're going to choose a Product is in collection filter and then select the Women's collection.
👉Tip: This tutorial can be adapted for many use cases, such as:
- Targeted forms
- Pop up modals
- Product suggestions
- And much more!


