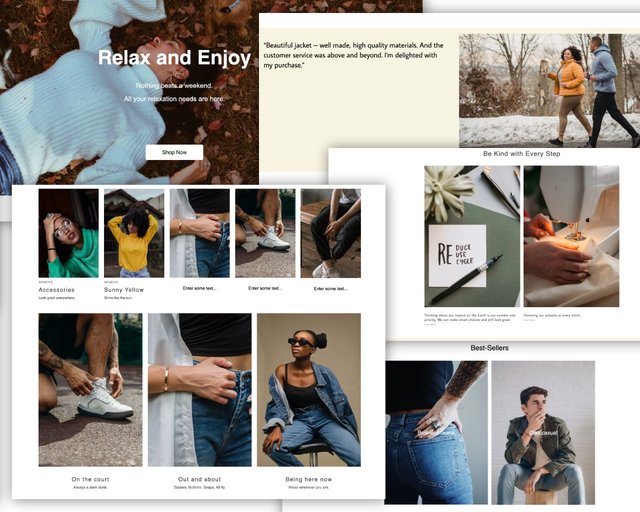
The Make a Landing Page series guides you through building a page in Builder from scratch. By the end of the series, you'll have built a beautiful page with a hero, columns, and quick, but sophisticated design elements. You'll learn how to:
- Build sections of a page from scratch
- Build what you see using alignment, columns, and styles
- Make your page look great on all devices
You'll build a whole page from the top down with a wide hero image, copy, a button, and a layout that looks and behaves like a modern site that invites confidence in the brand.

To follow along in Builder, make sure you have the following:
- An evergreen browser; that is, a modern, up-to-date browser such as Google Chrome.
- A Builder account. If you're just trying Builder out, you can do everything in this series with a free account.
The first video in this series shows you how to:
- Create a page
- Create a full-width hero image at the top of your page
- Add copy and a button to the image
This video demonstrates the whole process. Below the video is a list of the steps. Each section also has a quick video below it to isolate the required steps.
- In Builder, on your Content tab, click the +New button, give your new page a name, and click Create Page.
- Choose the Blank page rather than one of the Templates.
- Into the +Add Block section on your new page, drag a Box from the Insert tab.
- Now drag an Image block into the Box you just added. Edit the Image block to choose your photo.
- Once your photo appears, drag a Text block onto it. This will contain the large headline. You'll notice the image shrinks to the height of your new Text block.
- Click your Image and on the Style tab, give your image a min-height. Make it 500px in this instance.
- Change the font size to 50px and the color to a contrasting color. Here we made it white.
- Center your Text box vertically by selecting it, then choosing the center vertically icon in the Align section of the Style tab.
- For the subhead, drag another Text box onto your picture. On the Style tab, make the text 25px. In the Align section of the Style tab click the Up arrow to push this subhead up.
- To bring the header and subhead together now, select the header, and click the Down arrow this time.
- To add your button, drag the Button block from the Insert tab onto your photo just under the subhead. You'll notice the Button is full width.
- Select the Button, and on the Style tab choose the button background color. Here we chose white, so we also changed the font color to black.
- Change the Button's padding using the Style tab. Make it about 65px on the left and 65px on the right. Change the max-width to 300px.
- Next, also in the Style tab, click the center horizontally icon. Now to move it up, click the up arrow icon.
- The video shows you how you can also change the margins to move the Button a bit more.
- If you want to match the Everlane button's style, you can increase the border radius from the Style tab's Border section.
Now that you've created a hero with copy and a button, head over to the next step to learn how to make the next section of the page:


