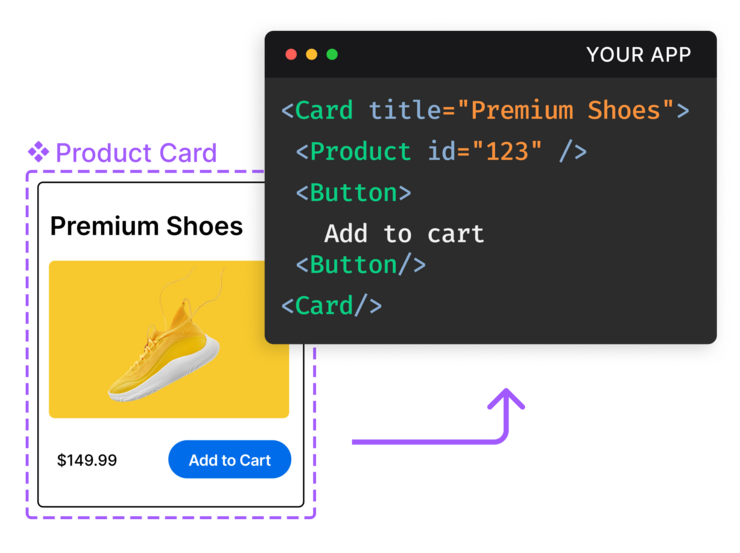
Builder.io is transitioning from manual component mapping to Component indexing, which automatically discovers and maps your design system components.
To migrate away from component mapping, visit the Component mapping migration guide.
Whether you Generate Code with Visual Editor or Generate Code with Builder CLI, component mapping provides a way to customize the code output to use your own code as part of the code generation.
- Connect Figma components to code components, so that when you use your Figma components your code components are used during code generation.
- To map components, you must export your design from Figma with Precise Mode.
- You must also publish
.mapperfiles to successful map components.
Builder generates code from your Figma design that doesn't depend on specific libraries or component methods.
If you want to use existing components in your codebase instead of generating new ones, you can use component mapping.

The following terms are useful to understand in relation to this process:
- Figma component: reusable design elements that can be accessed across design spaces. For more details, see Figma's Guide to components in Figma.
- Code component: reusable code elements that can be accessed from across your codebase. Depending on your application's framework, the exact code may look different but the concept is the same.
- Mapping: Builder connects Figma components to code components, so that when code is generated from a Figma design the existing code components are used wherever possible.
- .mapper file: This file lives in your codebase and aids Builder in connecting your Figma components to your code components. It also provides customization for using your component.
Mapping a component is a three-stage process:
- Create a
.mapperfile that connects a code component to a Figma component. - Publish a mapped component to your Builder Space.
- Generate code with your mapped components.
To create a .mapper file:
- Open a terminal window with its current location set to your project's directory.
- Create a Figma component that represents a code component already within your codebase.
- Click the Figma component and then open the Figma Builder plugin.
- Go to the Design System tab and click Map new components.
- A script is presented with the
generatecommand. Copy this script to your terminal window. - Run the command. When prompted, choose your code component from the list provided by the command line. This creates a new
.mapperfile.
Below is an example of a .mapper file.

Important: Your import paths within .mapper files will be reproduced verbatim during code generation. Use published package names or TypeScript path aliases (configured in tsconfig.json) within your .mapper files to ensure your generated code is not broken.
You must publish your mapped components for Builder to know about them. Once your components are published, they are available for use during code generation.
To publish mapped components:
- Confirm your local project has
.mapperfiles for the code components you wish to map. - Run the following command in your application's directory:
npx "@builder.io/dev-tools@latest" figma publish- Builder CLI identifies all mapped components (that is,
.mapperfiles) within your application. - When prompted, choose Publish. This publishes the mappings to Builder.
Now, when you use code generation, Figma components mapped to code components are used whenever possible.
Once your components have been mapped and published:
- Within Figma, choose a design that makes use of your mapped Figma component.
- When exporting your design with the Builder Figma plugin, choose Precise Mode. For more details on Precise Mode, see Figma export modes and Set up for precise mode.
- Click Export Design.
- Choose your method of code generation. For more details, see Generate Code with Visual Editor or Generate Code with Builder CLI.
Builder's code generation uses your mapped components within its results, reducing code complexity and duplication.
In the video below, code is generated with the Builder CLI. A published mapped component is present in the design and can be seen in the generated code.
To see more specific details about mapping components, see specialized documentation for working with TypeScript, Angular, and React.


