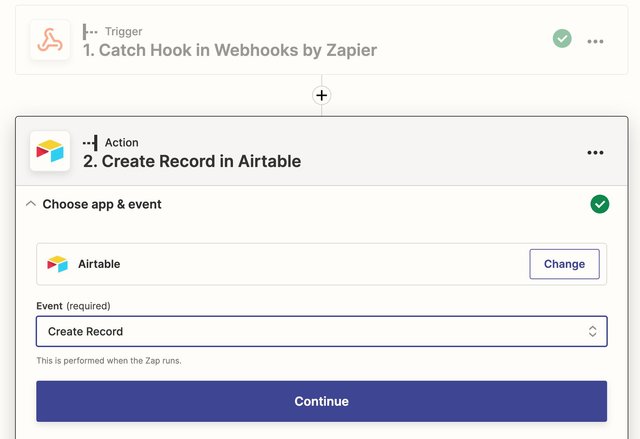
You can connect your Builder form to any of thousands of apps with Zapier. Popular Zapier integrations include:
- Google Sheets
- Gmail
- Slack
- Google Calendar
- Calendly
- Google Drive
- Notion
- Stripe
- Salesforcce
- Hubspot
- Mailchimp
This document provides instructions on how to connect your Builder form to another app using Zapier's integrations.
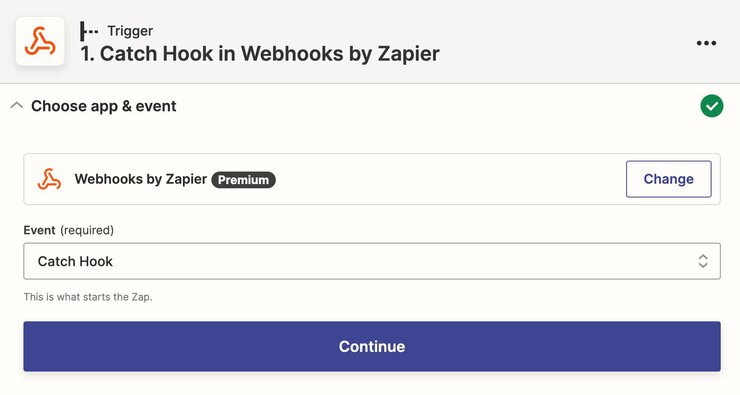
The first step is setting your trigger. A trigger is the event that starts a zap. When you set up a trigger, Zapier monitors for this event. The trigger for this example is Webhooks by Zapier. Webhooks are automated messages sent between apps, which can include information about new items; for example, email addresses from sign-up forms.
- In Zapier, select the +Create zap button in the top left corner.
- Search for and select Webhooks by Zapier.
- For the Event, choose Catch Hook. The Catch Hook event waits for a new
POST,PUT, orGETto a Zapier URL. - Click the Continue button and follow the steps in the Zapier dialogue to complete setting up your Webhook URL. For detailed instructions, refer to the Zapier documentation, Trigger Zaps from Webhooks.
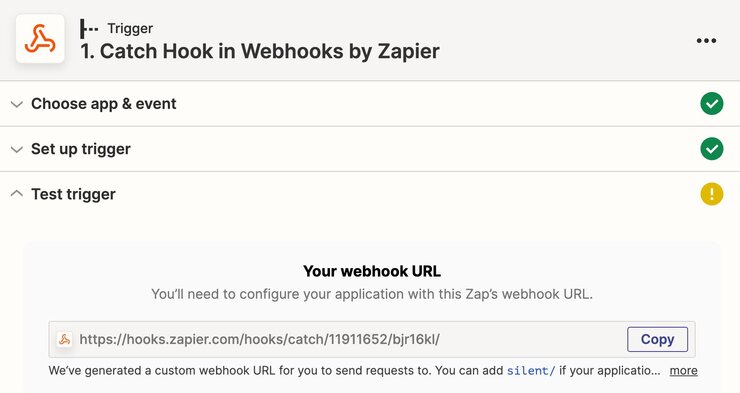
5. In the next section of the dialogue, Test Trigger, Zapier provides you with a Webhook URL. Click the Copy button and go to Builder.
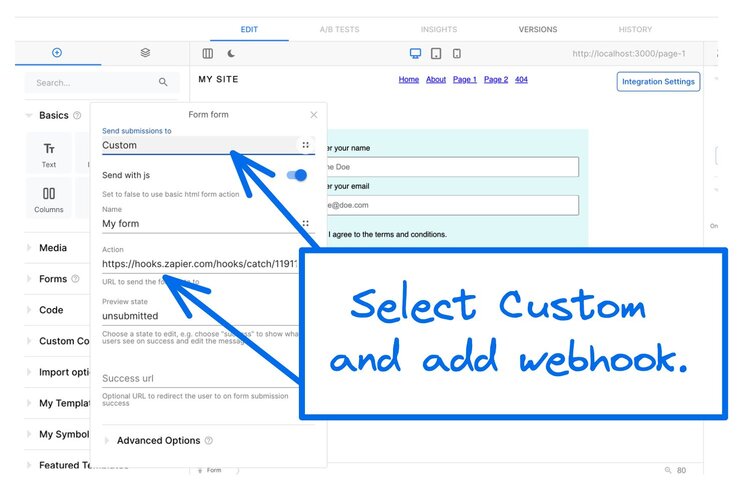
Now, Zapier will provide you with a custom webhook URL. Copy this URL and navigate to your Builder form. Select the form layer and navigate to the options tab. Change "send form submission" from "email" to "custom". Paste your custom webhook URL in the "Action" input.
- In Builder, click on your Form and open the Edit dialogue.
- Choose Custom.
- In the Action field, paste your Webhook you copied from Zapier.
To test your trigger:
- In Builder, preview your Builder page.
- Fill out the form.
- Submit the form.
- In Zapier, click the Test Your Trigger button.
If Zapier finds your submission request, Zapier displays the request in the dialogue. For more detail, see the Test your Webhooks section of the Zapier document Trigger Zaps from Webhooks.
This step uses Mailchimp as an aexample, but most other integrations follow the same pattern. Choose your integration in Zapier and then follow the setup process that Zapier guides you through.
After setting up your webhook and testing your trigger, you need to tell Zapier to use the app you want to connect to. This example covers Mailchimp as the event for your form submissions to be sent to.
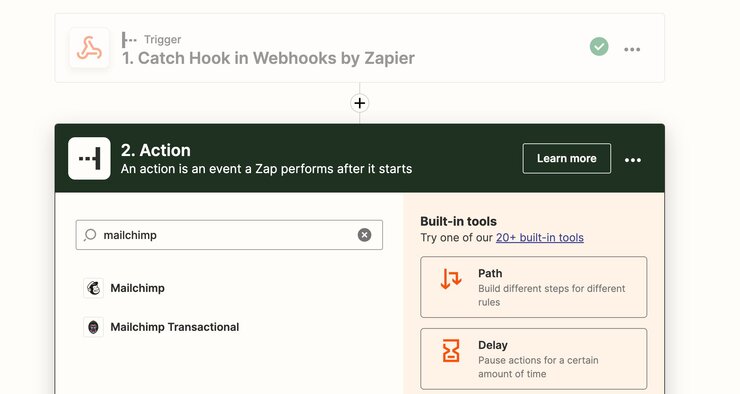
Go back into Zapier to the second part of setting up your zap, which is headed 2. Action.
- In the search bar, enter Mailchimp to filter and select Mailchimp.
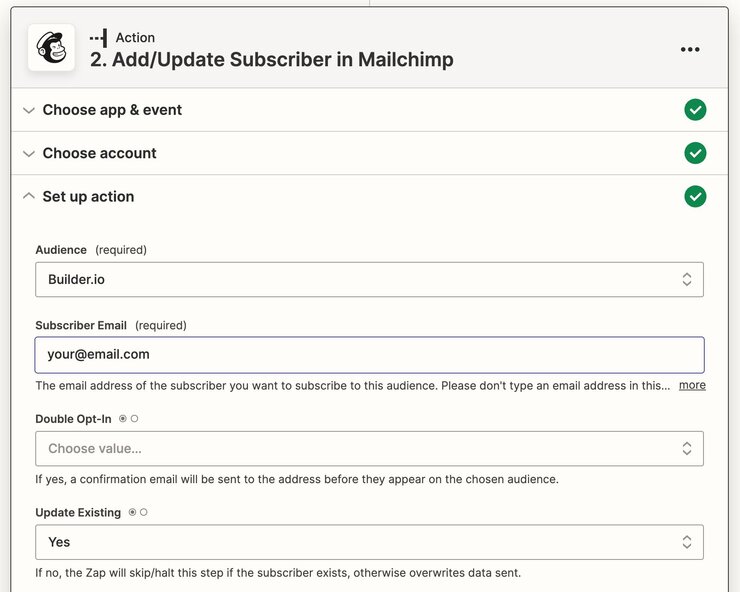
2. For the Event, select Add/Update Subscriber so when a user submits the form, their information is added to your Mailchimp audience.
3. Connect the Mailchimp account you want the form submissions to go to and select the correct audience and email value—this can be the email value from the test submission step earlier in the Zap. These are the required steps, but you can also add groups, tags, and other specifications.
3. Scroll down and click the Continue button.
4. In the Test Action section, click the Test action button to ensure that the form data is being properly sent from your Builder form to your Mailchimp audience.
Once your test data is successfully sent, you can turn on your Zap to make your form functional.
If you are using Airtable, follow the instructions above but in Step 4:
- Choose Airtable instead of Mailchimp.
- Select Create Record so that when a user submits the form, a new record with their information is added to your Airtable base.
- Connect to your Airtable account and select the base and table you want the form submissions to go to.
